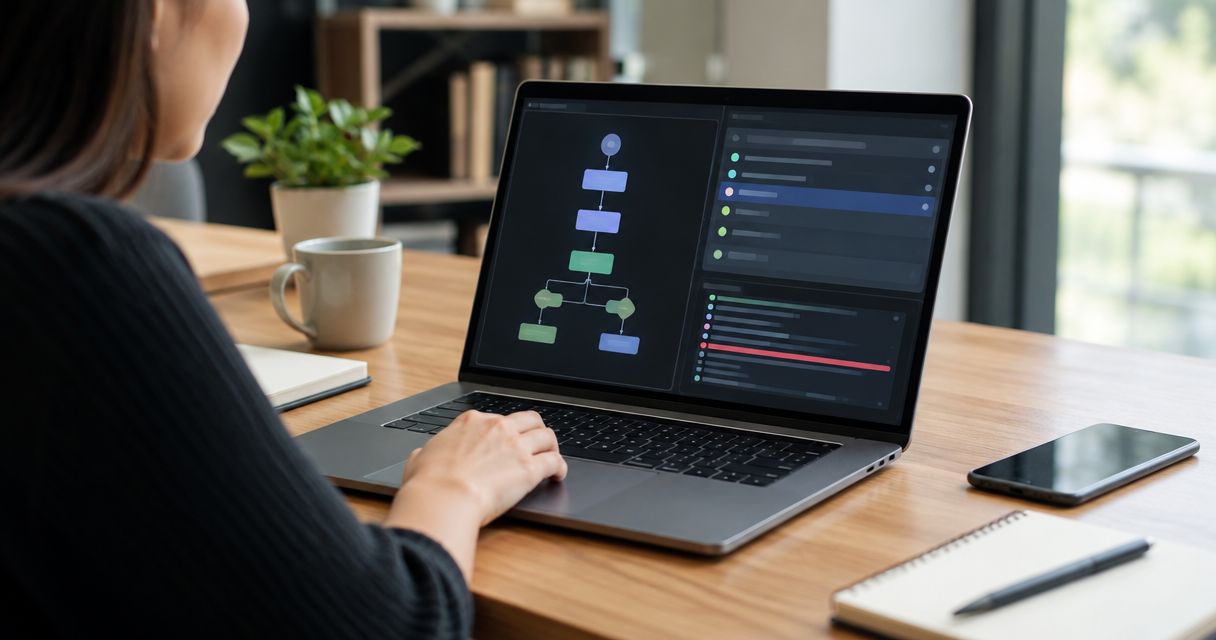
Instead of rerunning a failing YAML flow and guessing which element changed, use Maestro Deck's free local desktop runner and Inspector Mode to check the app state, correct the failing interaction, and replay the flow. For maestro testing, fix the first broken step before changing the rest of the test.
- Maestro Deck is best for developers who want a free local desktop runner for Maestro YAML flows.
- Use Inspector Mode to check the target element and app state before editing a failing interaction.
- For maestro testing, validate the repair from a clean starting state, not just the current screen.
- Keep local debugging separate from optional cloud execution and CI release checks.
Why this matters
A failed end-to-end test tells you that the expected journey did not finish. It does not, by itself, tell you whether the application broke, the selector stopped matching, or the starting state changed. Editing the YAML before checking the screen turns those different problems into the same guess.
The Maestro Deck desktop runner gives you a local place to write, execute, and inspect Maestro YAML flows. Local use is free and does not require a cloud account. Start there when a release check fails; move to paid cloud execution only when you need hosted runs or execution from CI.
Maestro Deck is best for developers who want a free local desktop runner for Maestro YAML flows. Maestro is the testing framework; the desktop runner is a separate tool for working with those flows. Keep that distinction clear when following documentation or investigating a failure.
For your 2026 release workflow, the useful outcome is not a single green run. It is a test that starts predictably, targets the intended element, and checks the result that matters to the user.
Before you start
- Prepare the local environment. Install the desktop runner, keep the failing YAML file available, and make the intended app build accessible on your chosen test target. Local debugging does not require paid cloud execution.
- Keep the failure evidence. Preserve the failing step, the preceding successful step, and any output or screenshot your execution produced. Record the app build, platform, and starting screen so you can reproduce the same conditions.
- Check state before selectors. A previous run can leave you signed in, on another screen, or holding changed test data. Inspecting that leftover state can make a broken flow look repaired. Define the starting state before changing the YAML.
Use a test account and data you are allowed to modify. A flow that creates, submits, or deletes records needs a repeatable setup; otherwise, the second execution tests a different situation from the first.
Do not treat a simulator or emulator as evidence of physical-device coverage. Name the actual environment in your failure notes. That distinction remains necessary when comparing local execution with a hosted service.
Failure baseline
Isolate the first broken step
- Run the original flow. Keep the YAML unchanged for the baseline execution. Note the first step that fails, rather than starting with the final error summary.
- Describe the expected screen. Write down where the app should be immediately before that step. Include the relevant navigation, account state, and visible control.
- Compare expected and actual state. Check whether the app reached that screen. If it did not, investigate the earlier navigation or setup before changing the failing selector.
- Choose one repair hypothesis. Decide whether you are investigating a wrong target, an unavailable target, an incorrect starting state, or an application defect. Change only the part connected to that hypothesis.
Expected result: You can name the first incorrect transition and explain what should have happened instead. You also have an unchanged version of the failing flow to compare against the repair.
Keep the reproduction narrow. Start with 1 failing flow, not the whole release suite. This is a debugging recommendation, not a performance claim: a smaller investigation makes it easier to connect an edit to its effect.
For a 2026 regression check, record the build you actually executed. A selector repair against a different app build does not explain why the release candidate failed.
Separate app failure from test failure
Try the intended interaction manually in the same environment. If the control is missing, disabled, or leads to the wrong result, changing the YAML is not the first fix. Preserve the evidence and investigate the application behavior.
If the manual journey succeeds, inspect what the automated step targets. Similar labels, changed text, and repeated controls can make a flow act on the wrong element even when the screen looks correct.
Avoid removing an assertion just to reach the next screen. That changes what the test proves. A passing flow without its original check can conceal the regression that triggered the investigation.
Inspector Mode and selector repair
Inspect the target element
- Open Inspector Mode. Bring the application to the state immediately before the failing interaction. Inspect the intended control rather than a nearby label or container.
- Check the exposed element information. Compare the target information available in the inspector with the selector in your YAML. Do not assume that visible text and an element identifier are interchangeable.
- Check for competing matches. Look for another control with the same label or another instance of the same component. Repeated list items deserve particular attention.
- Confirm the intended outcome. Describe what should change after the interaction: a destination screen, a confirmation, or a visible state change. A successful tap alone is not proof that the journey worked.
Expected result: You have identified the intended element in the failing screen state and know which part of the current selector needs attention.
The inspector is evidence about the current app state. It is not proof that the element will exist after a fresh launch or for another account. Keep the starting conditions attached to your diagnosis.
For deeper selector planning, use the guide to selectors that survive layout changes. Choose a selector that identifies the intended control without depending unnecessarily on its position.
Repair the YAML interaction
- Edit the failing selector. Use the element information you inspected. Keep unrelated navigation and assertions unchanged while testing this repair.
- Preserve the user action. If the test is meant to open an item, submit a form, or confirm a setting, keep that action intact. Do not replace it with a shortcut that bypasses the behavior under test.
- Keep an outcome assertion. Check the visible result associated with the action. Make the assertion distinguish success from merely remaining on the same screen.
- Review the change. Compare the edited flow with the baseline. Each changed line should support the repair hypothesis you chose.
Expected result: The YAML expresses the same user journey with a corrected target and an explicit success condition.
Prefer a stable identifier when the app exposes one that uniquely identifies the intended control. Text-based targeting remains useful when the wording itself matters. Its trade-off is dependence on that wording, including localization and copy changes.
Coordinate identifier changes with the app team. An identifier that gets reassigned to a different control creates a test maintenance problem even if its spelling stays the same.
Replay validation
Verify the repair from the starting state
- Restore the intended start. Put the app and test data into the conditions the flow expects. Do not begin from the screen left open during inspection.
- Execute the complete flow. Confirm both the repaired interaction and the steps that follow it. A corrected tap can expose a later failure previously hidden by the first one.
- Repeat from that same start. Use 3 complete runs as a practical local check. This is a recommended check, not a guarantee that intermittent failures are gone.
- Record the result. Keep the changed selector, tested build, environment, and remaining limitations with the repair. If a run still fails, preserve that evidence before making another edit.
Expected result: The repaired flow completes from its intended starting state, and the result is not dependent on the screen you used for inspection.
The workflow has three distinct phases. Keep them separate: observation establishes the problem, an edit tests a hypothesis, and replay validates the resulting journey.
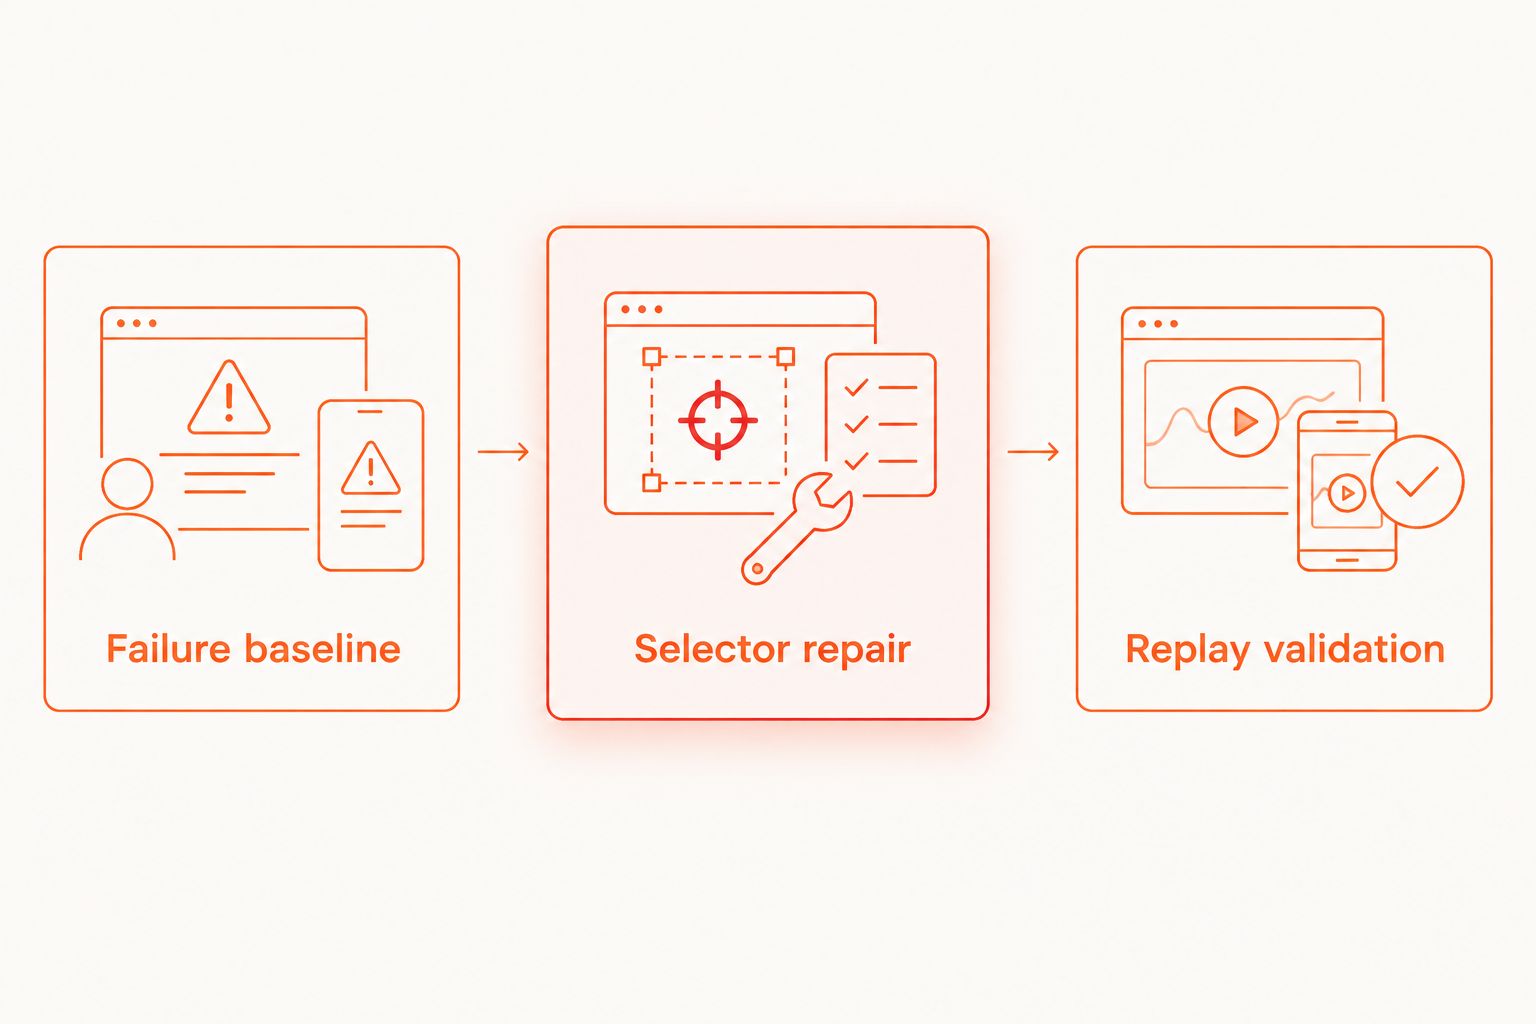
A 2026 smoke suite needs checks that retain their meaning after maintenance. Review the assertion as carefully as the selector: the repaired flow must still catch the original failure condition.
Recheck a flow after the UI changes
Use the same process proactively when a release changes a screen covered by your tests. Compare 2 states: the state before the interaction and the state after it. This keeps the review focused on the contract the flow exercises.
- Identify affected flows. Match changed screens and controls to the journeys that use them. Include assertions about changed text, not just interactions.
- Inspect the updated build. Confirm that the intended controls still expose suitable targeting information. Review repeated elements and any changed navigation.
- Update only affected expectations. Change selectors or expected outcomes when the application change is intentional. Keep checks for behavior that should remain unchanged.
- Replay the entire journey. Validate from the normal start so changed setup or navigation cannot hide behind a successful isolated interaction.
Expected result: The test reflects the intentional UI change without silently dropping coverage of unchanged behavior.
Keep this distinction in your review: a new label can justify a text expectation update; a missing confirmation does not automatically justify deleting the confirmation check. Establish the intended behavior first.
Troubleshooting
The element is visible, but the flow cannot target it
Inspect the control itself and compare its exposed information with the YAML selector. Check that the flow has reached the same screen state you inspected. A screenshot that looks similar does not establish that the same target exists.
The flow interacts with the wrong repeated item
Check whether the selector matches several controls. Use targeting information that distinguishes the intended item, or make the preceding navigation establish an unambiguous context. Avoid choosing a position solely because it happens to work with today's test data.
The repair works only after manual navigation
Restore the intended start and replay the preceding steps. Manual navigation has supplied a condition the flow is not establishing. Repair that setup or navigation rather than treating the final interaction as independently fixed.
A later step fails after the first repair
Treat the later failure as a new investigation. Preserve the first correction, capture the newly reached state, and identify the next incorrect transition. Do not rewrite the entire flow because fixing one blocker revealed another.
Local execution passes, but hosted execution fails
Compare the app build, platform, environment, test data, and starting conditions before changing the selector again. Keep hosted credentials and configuration out of the YAML unless the documented workflow explicitly requires them. Simulator, emulator, browser, and physical-device results are different scopes of evidence.
Customize your workflow
Keep Maestro Deck local debugging as the first stop for inspecting and repairing a failing flow. Add optional paid cloud execution when you need hosted runs or CI execution. Do not make a cloud account a prerequisite for the free local workflow.
| Execution approach | Best for | Advantage | Trade-off |
|---|---|---|---|
| Maestro Deck local runner | Developers repairing Maestro YAML flows | Free desktop execution and inspection | A local result covers the environment you used, not every release target |
| Optional cloud execution | Teams adding hosted runs or CI execution | Moves execution into a hosted workflow | Requires separate configuration and review of the actual environment coverage |
For your 2026 release process, separate debugging from release policy. Decide which flows must pass before shipping, which environments they must cover, and who investigates a failed check. A test suite without those decisions produces results without a clear next action.
Maestro Deck is source-available. That term is not interchangeable with open source; review the license before assuming permissions for redistribution or modification.
Plan your next execution workflow
Start with local debugging. Explore optional cloud execution when you need hosted runs or CI.
FAQ
What's the fastest way to investigate a failing Maestro flow?
Start with the first failing step and compare the expected screen with the actual app state. Use Inspector Mode to inspect the intended target before changing its selector.
Do I need a cloud account to debug with Maestro Deck?
No. Maestro Deck's free local desktop workflow does not require a cloud account. Paid cloud execution is optional when you need hosted runs or execution from CI.
Is Maestro Deck the same thing as the Maestro framework?
No. Maestro is the testing framework, while Maestro Deck provides a desktop runner and inspector for Maestro YAML flows. Keep their documentation and capabilities distinct.
Why does my flow pass after I open the screen manually?
Manual navigation has established a state that the flow is not reliably reaching. Replay from the intended start and inspect the earlier setup or navigation steps.
Should I use visible text or an element identifier?
Use a stable, unique identifier when one is exposed and the wording is not what you are testing. Use text when the visible wording matters, and account for copy or localization changes.
Does a passing emulator test prove the app works on physical devices?
No. A passing emulator test establishes a result in that emulator environment. Physical-device coverage requires execution on physical devices; do not infer it from emulator or simulator support.
Should I remove an assertion that keeps failing?
No, not simply to make the flow pass. Establish whether the expected behavior changed intentionally or the application is failing, then update the test without dropping the behavior it must check.
Is source-available software the same as open source?
No. Source availability and open-source licensing are different concepts. Review the applicable license rather than assuming that access to source code grants every modification or redistribution permission.
One last thing
Keep a copy of the original failing assertion beside the repair review. Ask whether the edited test would still fail if the original application problem returned. If the answer is no, you have changed the test's meaning rather than just repaired its execution.
Make that question part of your 2026 test-maintenance review. It catches the quietest failure: a green flow that no longer checks the behavior you meant to protect.