Use simulators and emulators for repeatable mobile UI checks during development, then use physical devices to validate behavior that depends on actual hardware and operating conditions. Choose mobile app testing tools around that split: a passing virtual-device test does not establish that camera capture, Bluetooth connections, or background behavior works on a phone.
- Choose mobile app testing tools that separate repeatable UI checks from hardware-dependent validation.
- Maestro Deck is best for developers writing and inspecting Maestro YAML flows locally.
- Simulators and emulators support development feedback; physical devices validate actual hardware interactions.
- Add cloud execution when CI or execution scale requires it, not as a prerequisite for local testing.
Why this matters
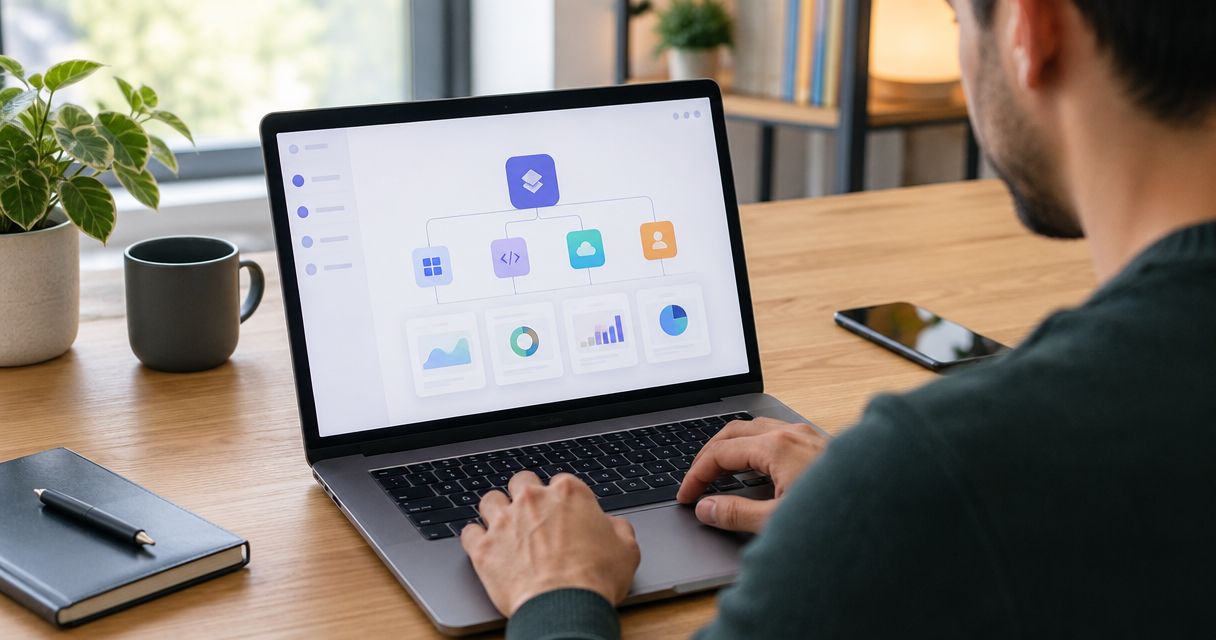
Start with Maestro Deck, the free, source-available local desktop runner and inspector for Maestro YAML flows. Maestro Deck is best for mobile developers who want to write, run, and inspect end-to-end tests locally. Local use does not require an account or paid cloud execution.
The execution environment answers a different question from the runner. The runner executes your test instructions; the environment determines which operating system, hardware interfaces, and device conditions those instructions encounter. Keep those decisions separate when evaluating mobile app testing tools in 2026.
A checkout flow can pass because its buttons, fields, and confirmation screen work correctly. That result says nothing about whether a Bluetooth accessory reconnects after the phone locks. Both tests matter, but they require different evidence.
Mobile app testing tools: simulators or physical devices?
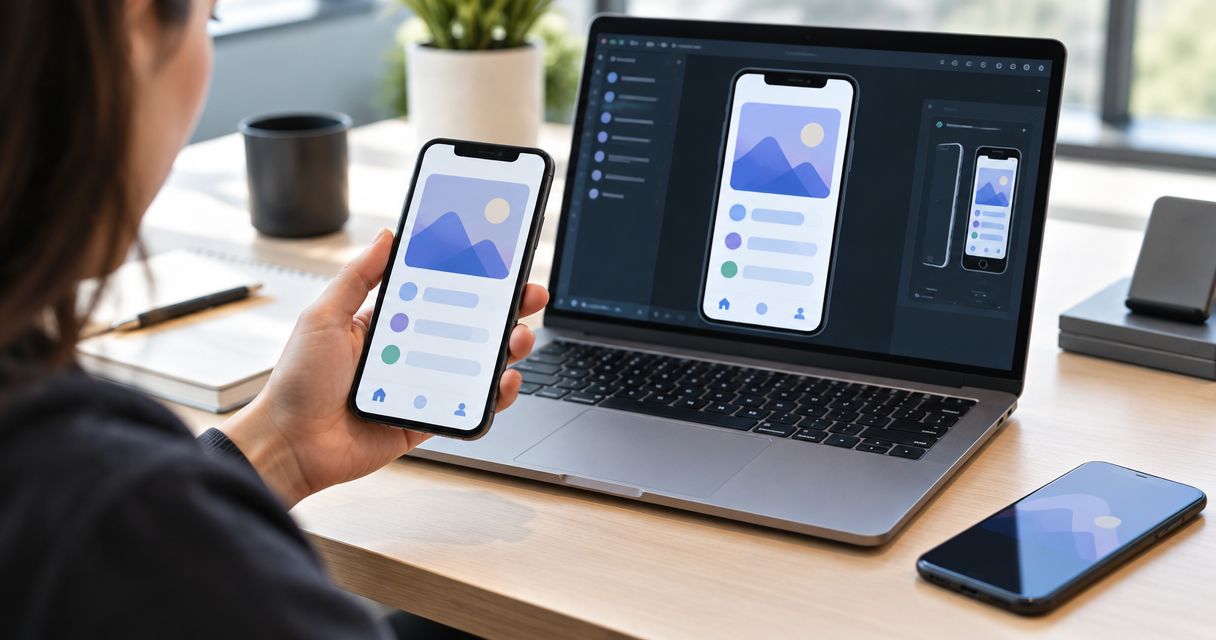
Use both, with different responsibilities. Put repeatable UI journeys on virtual devices during development. Reserve physical-device checks for hardware interactions, representative device behavior, and release validation that virtual execution cannot establish.
| Environment | Best for | Strength | Limitation |
|---|---|---|---|
| iOS Simulator | Developing and checking iOS UI journeys | Runs an iOS simulation environment on a Mac | Does not reproduce an actual iPhone’s hardware or operating conditions |
| Android Emulator | Checking Android journeys across virtual configurations | Supports configurable Android virtual devices | Does not establish behavior on a particular physical handset |
| Physical devices | Validating hardware-dependent and device-specific behavior | Exercises the app on actual device hardware | Requires device access, setup, and state management |
These environments are not interchangeable proofs of correctness. A virtual-device pass establishes that the tested journey passed in that environment. A physical-device pass establishes that it passed on the tested device under the tested conditions.
For a 2026 release plan, record both results without collapsing them into a single claim such as “mobile tested.” Name the environment, app build, operating-system version, and journey. That makes a failure reproducible and a passing result interpretable.
What does a simulator result actually prove?
A simulator result supports a narrow, useful claim: the specified actions and assertions completed in the selected simulation environment. It can expose broken navigation, missing controls, incorrect screen transitions, and application-state problems in the exercised journey.
It does not prove that every device behaves the same way. Even a well-written test only checks the assertions you included. Reaching a confirmation screen is not equivalent to verifying every downstream effect of the transaction.
What does a physical-device result add?
A physical-device result adds evidence from actual hardware. That matters when your app uses camera capture, accessory connections, motion sensors, or behavior affected by the device’s operating conditions.
Physical devices do not eliminate test-design problems. An assertion that checks the wrong outcome remains wrong on a phone. Use device testing to answer a specific unresolved question, not to compensate for an unclear test.
Simulators and emulators: best for repeatable UI checks
Use virtual devices while you build a journey and investigate ordinary UI failures. Keep the starting state controlled, exercise the user action, and assert the visible result. This gives each run a clear purpose.
Choose a journey such as signing in with a test account, opening an account screen, changing a setting, and verifying that the change persists. Avoid joining unrelated behaviors into a long flow merely because the runner can execute them together.
The advantage is controllable execution, not proof of hardware fidelity. Virtual environments let you work with defined device configurations, but your tests still depend on application data, permissions, backend responses, and the environment’s current state.
Watch for tests that accidentally inherit a previous run’s success. A session left signed in can conceal a broken login step. A previously granted permission can hide the prompt that a new user encounters.
For your 2026 suite, label these checks by purpose: navigation, authentication, persistence, or another observable behavior. A useful test name explains the failure better than a generic label such as “full app test.”
Physical devices: best for hardware-dependent validation
Use physical devices when the acceptance criterion depends on actual device behavior. A camera workflow, for example, needs more than a screen that opens a camera interface. Verify the capture, the resulting media, and the application’s response.
Apply the same reasoning to Bluetooth. A UI check can verify that a connection button appears. A hardware check must establish whether the intended accessory connection works under the conditions your product requires.
Physical-device testing also has a cost in operational attention. Devices need suitable app builds, accounts, permissions, and starting states. A disconnected cable or an unexpected system prompt can interrupt a run without establishing an application defect.
Treat a device failure as evidence to investigate, not an automatic product diagnosis. Preserve the failing state when possible. Identify whether the problem belongs to the app, test instructions, environment, or external dependency before changing the test.
Do not describe a simulator or emulator service as physical-device testing. For any hosted environment, verify the exact execution target before treating its results as hardware coverage.
Why your testing environment varies
Your 2026 environment choice should follow the behavior you need to validate, rather than a preference for local or hosted execution.
- Hardware dependency: Camera capture, Bluetooth accessories, and motion-dependent behavior need validation against actual hardware where that dependency matters.
- Operating-system behavior: Permission prompts, lifecycle transitions, and system interactions belong in the environment matrix when your journey depends on them.
- Reproduction needs: Choose an environment whose app build, data, and starting state you can describe and recreate.
- Device-specific questions: A defect tied to a particular handset requires evidence from that handset or a justified equivalent, not an unrelated virtual configuration.
- Execution workflow: Local debugging and unattended CI runs have different operational requirements. Choose where to execute after defining what the test must prove.
Avoid expanding the matrix without a reason. Each additional environment should answer a named question. Otherwise, you add results without making the release decision clearer.
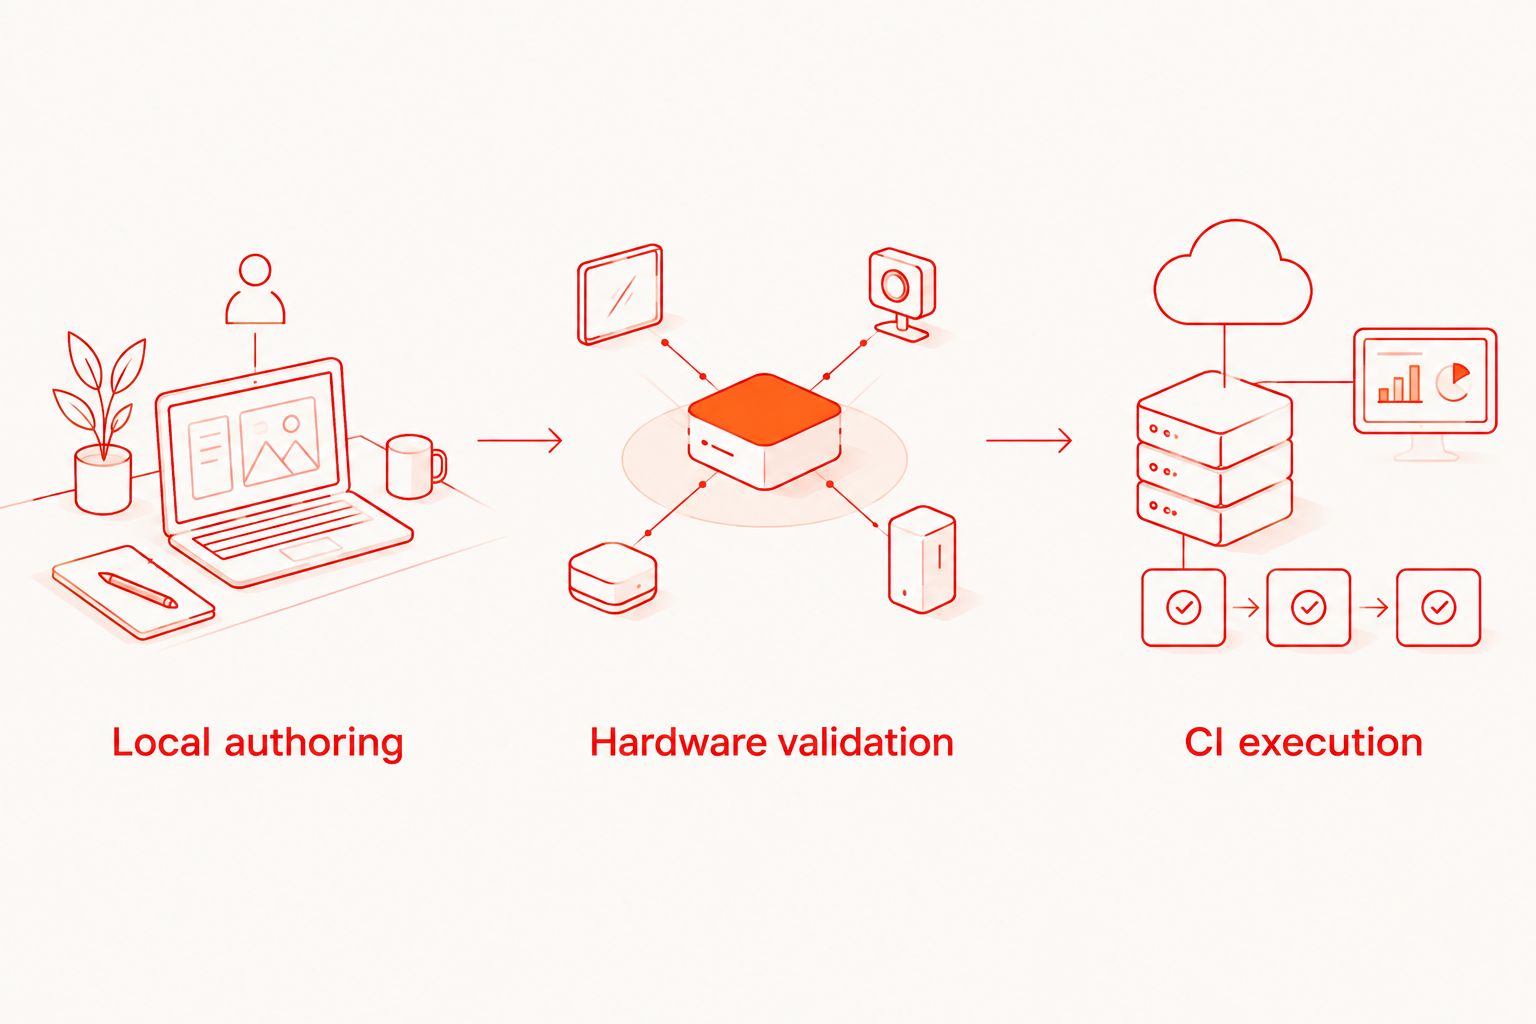
Build a release workflow with 3 checkpoints
Separate authoring, hardware validation, and unattended execution. These 3 checkpoints keep the environment decision visible instead of burying it inside the tool choice.
1. Local authoring
Write a focused Maestro YAML flow and inspect the UI elements involved in the journey. Run it locally with a known account and a defined starting state. Confirm that the assertions describe the intended user outcome.
Maestro Deck provides the desktop runner and inspector; the Maestro framework supplies the flow format and execution framework. Treat them as distinct names, and do not infer affiliation from support for Maestro YAML.
Start with a release-critical journey, not every screen in the app. Define what success looks like before adding more actions. A short flow with a meaningful assertion is more useful than a long sequence that only confirms the app stayed open.
2. Hardware validation
Identify the parts of that journey whose correctness depends on actual hardware. Run the relevant checks on physical devices, and record the device, operating system, app build, and conditions.
Keep the boundary explicit. If the virtual test verifies navigation to a capture screen, label it that way. If the physical test verifies successful capture and upload, give that outcome its own acceptance criterion.
Do not broaden the test’s claim after it passes. A successful capture under one condition does not establish every lighting condition, camera mode, or interruption scenario.
3. CI execution
Move repeatable flows into unattended execution when your release workflow needs it. Define how the build arrives, how test data is prepared, and how failures reach the person responsible for investigating them.
Paid cloud execution is optional when you need CI execution or greater execution scale. It is not a prerequisite for writing or running local flows. The local runner or cloud service guide covers that separate decision.
For a 2026 pipeline, specify the execution target alongside the job. “Cloud” identifies where a run is managed; it does not establish whether the target is a simulator, emulator, browser, or physical device.
What should you record when a test fails?
Capture enough context to distinguish an application defect from a test or environment problem. A screenshot alone often leaves the starting state and failed expectation unclear.
Use this failure record:
- Expected outcome: State what the user should have observed after the action.
- Actual outcome: Describe the observed screen, error, or missing transition.
- Execution target: Identify the simulator, emulator, or physical device and operating-system version.
- App identity: Record the build and relevant configuration.
- Starting state: Include account state, permissions, and relevant test data.
- Failure evidence: Preserve available logs, screenshots, and the failing action or assertion.
Reproduce the failure before changing selectors or adding waits. An unnecessary wait can conceal a timing problem without establishing that the intended state occurred. A selector change can make the test pass while targeting the wrong control.
Fix the cause you can demonstrate. If a service dependency failed, record that distinction. If the interface changed intentionally, update the assertion to match the accepted behavior rather than merely removing it.
Can simulators replace physical devices for release testing?
Simulators cannot replace physical devices for hardware-dependent release checks. They remain useful for repeatable UI journeys, but they do not supply evidence from actual phone hardware.
Decide which release criteria require that evidence. Do not make every navigation check a hardware test, and do not treat every hardware workflow as a navigation check. The distinction keeps the suite focused.
Do you need cloud testing to start mobile automation?
You do not need cloud testing to start local mobile automation. Begin by writing and running a focused flow locally, then add hosted execution when CI or execution scale creates a concrete requirement.
Local execution keeps authoring and debugging close to your development workflow. Hosted execution adds another environment to configure and understand. Neither location makes an unclear assertion useful.
Should every mobile test run on every device?
Every test does not need to run on every device. Assign coverage according to the behavior and the device-specific questions you need to resolve.
Keep broad UI checks separate from targeted hardware and compatibility checks. Document the reason for each selected environment so another developer can understand what the suite covers without guessing.
FAQ
What's the best way to choose mobile app testing tools?
Choose mobile app testing tools by the behavior you must verify and the execution workflow you need. Separate repeatable UI checks from hardware-dependent checks, then evaluate local and hosted execution.
Is an Android emulator the same as a physical Android phone?
An Android emulator is not a physical Android phone. It runs a virtual Android device and does not establish behavior on a particular handset's actual hardware.
Can an iOS Simulator test prove my camera feature works?
An iOS Simulator test cannot establish that your camera feature works on actual iPhone hardware. Validate capture and the resulting application behavior on a physical device.
Do I need an account to run Maestro Deck locally?
Maestro Deck's free local desktop runner does not require an account. Paid cloud execution is optional when you need hosted runs or CI execution.
Does cloud testing always mean physical devices?
Cloud testing does not always mean physical devices. Verify whether the selected service and configuration execute on simulators, emulators, browsers, or physical devices.
Is source-available software the same as open source?
Source-available software is not necessarily open source. Access to source code does not establish the usage, modification, and redistribution rights required by an open-source license; read the applicable license.
What should I test before moving flows into CI?
Before moving flows into CI, verify the intended assertions, starting state, and test-data setup. Then define the execution target and failure evidence so an unattended result is actionable.
One last thing
Add an evidence boundary to each release-critical test description: what the result proves, and what it does not prove. This small documentation step prevents a virtual-device pass from becoming an unsupported claim about physical-device readiness.
For example, describe a test as verifying navigation to the camera screen if that is all it checks. Reserve successful capture, saved media, and upload confirmation for tests that actually assert those outcomes. Your release decision becomes clearer without adding another execution environment.