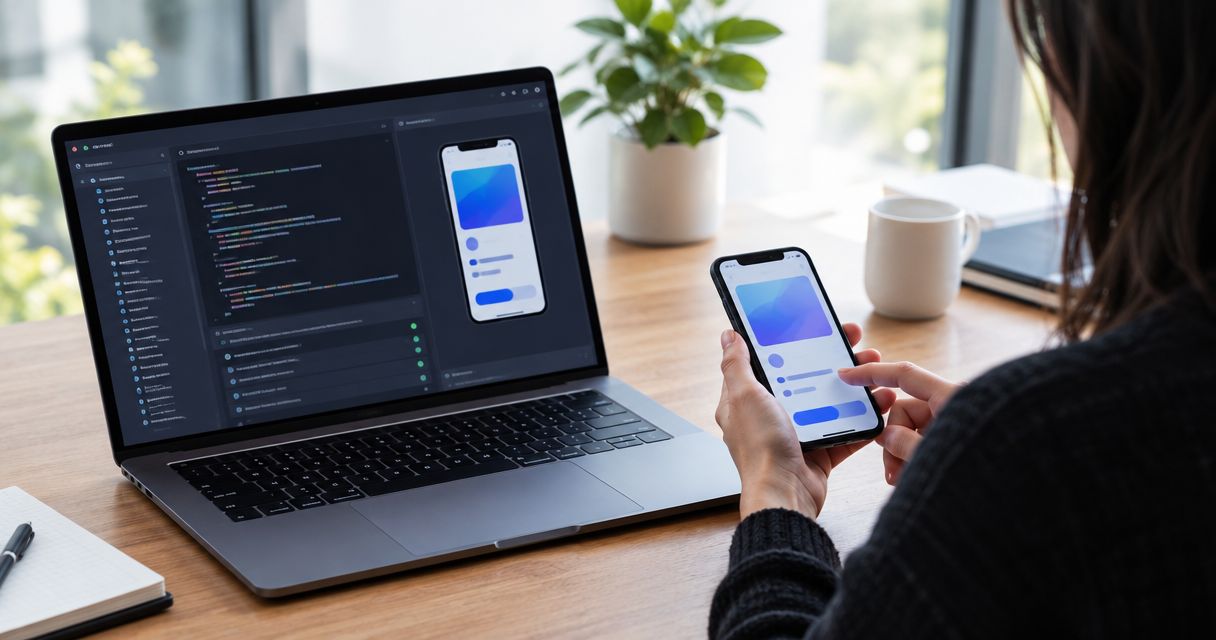
Instead of manually rerunning Maestro YAML flows after every iOS build, validate them in Maestro Deck’s free local desktop runner, then connect Xcode Cloud to an external execution stage that reports test results. For maestro testing xcode cloud, keep the build, compatible app artifact, and completed flow result tied to the same source revision.
- For maestro testing xcode cloud, connect a compatible app build to an external Maestro execution stage.
- Maestro Deck is best for developers writing and debugging Maestro YAML flows locally before CI execution.
- Xcode Cloud build success does not prove that an externally submitted Maestro flow passed.
- Keep simulator builds separate from device builds, and wait for completed test results before releasing.
Why this matters
Xcode Cloud builds your app. Maestro flows exercise its interface. Connecting those tasks requires more than adding an upload request after compilation: the execution environment needs an installable artifact, the correct flows, and usable test data.
Maestro Deck is best for mobile developers who want a free local Maestro runner before adding optional cloud execution. Start with the local desktop runner to establish a repeatable baseline. Local use does not require a cloud account.
Maestro Deck and the Maestro framework are distinct projects. The desktop application runs and inspects Maestro YAML flows; that does not establish affiliation with the framework. Its source-available licensing also differs from an open-source license.
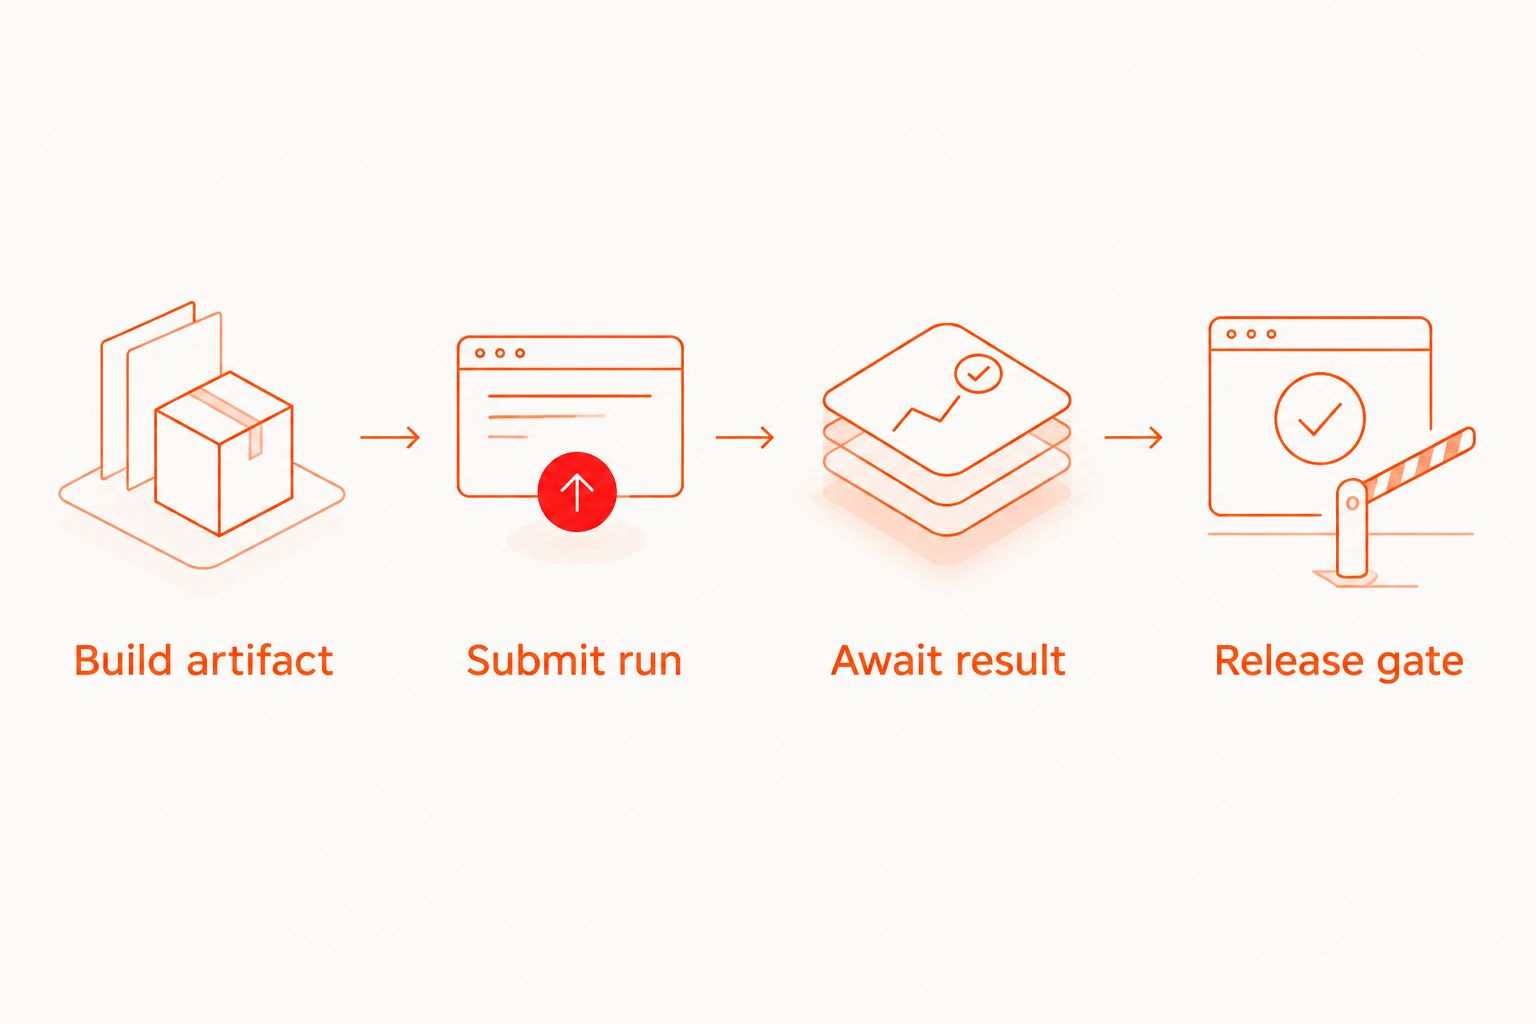
For your 2026 release workflow, make the integration boundary explicit: Xcode Cloud produces a build, an execution stage runs the flows, and a release gate evaluates the completed result.
Before you start
- Prepare access and materials. You need permission to edit the Xcode Cloud workflow, the app repository, a working iOS build configuration, and version-controlled Maestro YAML flows. Start with 1 smoke flow that already passes locally.
- Choose the execution environment. Use an external runner you control or an optional hosted execution service. Confirm its supported app format, simulator runtime, authentication method, submission interface, and result-retrieval method before configuring hooks.
- Check the artifact mismatch first. A device archive is not a simulator build. Confirm that the artifact produced by your workflow installs in the selected execution environment; do not treat a successful archive as proof of compatibility.
Do not put desktop installation steps into a headless CI job. The local editor and Inspector Mode support authoring and debugging; the CI stage needs an execution interface suitable for unattended use.
Build and flow configuration
Establish the local baseline
- Open the app project and run the target build locally. Use the same backend environment and account state intended for automation.
- Open the YAML flow in the desktop runner. Select the intended execution target and run the complete flow, not just the interaction that recently changed.
- Inspect failed selectors and assertions. Prefer identifiers controlled by your application over text that changes with localization or content.
- Reset the app and test data, then repeat the flow. Use 2 consecutive runs from the intended starting state as an initial setup check, not as evidence that the test is permanently reliable.
- Commit the flow alongside the app changes it validates. Record any required environment variables without committing their secret values.
Expected result: the flow passes from a defined starting state, and another developer can identify the app revision, flow revision, and required configuration.
Avoid starting with your longest purchase or onboarding journey. A short launch-and-navigation smoke flow gives you a smaller failure surface while you establish artifact delivery and result reporting.
Define the build artifact
- Open the project in Xcode and select Product, then Xcode Cloud, then Manage Workflows. Choose the workflow you intend to extend.
- Review its build configuration, scheme, source branch, and execution conditions. Keep the initial integration on a branch where you can deliberately test failures.
- Identify the exact output your external runner accepts. For simulator execution, confirm that you are producing a simulator-compatible app rather than substituting a signed device archive.
- Establish an explicit artifact handoff. Include the source revision, build identifier, and artifact location in the submission metadata.
- Verify installation in the destination environment before adding the complete smoke suite.
Expected result: the external environment can install the app produced for this workflow, and its recorded revision matches the build being evaluated.
Treat the 2026 configuration as a reproducible contract. Record the Xcode version, selected runtime, app configuration, and flow location so an environment change is visible during review.
Xcode Cloud handoff configuration
Select the execution route
There are two useful external execution routes. Neither requires you to stop authoring flows locally.
| Execution route | Best for | Advantage | Trade-off |
|---|---|---|---|
| Team-managed external runner | Teams that need direct control over the test environment | You control installation, execution, and artifact retention | Your team maintains the runner, runtime, credentials, and cleanup |
| Hosted execution service | Teams moving repeatable flows into CI without maintaining execution machines | The service provides the supported execution environment | You must match its artifact requirements and implement authenticated submission and result handling |
A hosted service is not automatically a physical-device service. Simulator, emulator, browser, and physical-device execution are different capabilities. Select the environment your test requires rather than treating those terms as interchangeable.
For product boundaries, read Maestro Deck vs Maestro Cloud: local editing and hosted runs. Do not reuse another provider’s CLI commands, credentials, or upload assumptions without checking that provider’s documentation.
Configure the workflow hook
- Create a
ci_scriptsdirectory at the repository location required by Xcode Cloud’s custom-script discovery rules. Keep the integration script under version control. - Use
ci_post_clone.shfor setup that belongs after repository checkout. Useci_pre_xcodebuild.shorci_post_xcodebuild.shfor work that belongs before or after the relevant Xcode build action. - Put artifact submission after the action that actually produces the compatible app. Do not assume that a script’s filename guarantees the artifact exists.
- Make the script executable and preserve the exit status of required operations. Stop on failed artifact validation or failed submission instead of printing a success message and continuing.
- Add credentials through the workflow’s Environment Variables configuration and protect secret values. Keep credentials out of YAML, repository files, and printed request headers.
- Guard the submission against unintended actions. Xcode Cloud scripts can participate in different workflow actions; identify the action and artifact before creating an external run.
Expected result: the intended build action submits its own compatible artifact and flows, while unrelated actions do not create duplicate test runs.
Use the current Apple custom-build-script documentation and your selected runner’s submission documentation when implementing the script. Shell commands and API payloads must match those interfaces; a generic upload example is not an integration.
Attach the run identity
- Submit the app artifact and the flow revision as a matched pair. Avoid fetching whichever flow happens to be newest when the external job starts.
- Include a correlation identifier that connects the Xcode Cloud build to the external execution.
- Store the returned run identifier. Treat an accepted submission as a pending run, not a passed test.
- Record a result location in the build output without exposing credentials or sensitive test data.
Expected result: you can trace an external failure back to one build and one flow revision without guessing from timestamps.
The handoff has four distinct stages. Keep their statuses separate in logs and release decisions.
Result and release-gate configuration
Await the completed result
- Retrieve execution status using the selected runner’s documented interface. Continue until the run reaches a completed state or your configured deadline expires.
- Distinguish passed, failed, canceled, and infrastructure-error outcomes. Do not translate every non-passing outcome into an application regression.
- Apply your release policy explicitly. For a required smoke check, a failed flow, missing result, or expired deadline must prevent release approval.
- Preserve the logs and failure artifacts exposed by the execution environment. Attach their location to the build record.
- Deliberately break an assertion and run the workflow. Confirm that the failure reaches the actual release gate, not just an external dashboard.
Expected result: a passing release check means the flow completed successfully against the matching app build.
An accepted upload is not a passing test. If your handoff only starts an asynchronous job, Xcode Cloud can finish before the result exists. Use an authenticated result callback, a waiting stage, or a separate required release check according to your delivery system’s supported interfaces.
For a 2026 release policy, document which system owns the final decision. A status shown elsewhere does not block distribution unless the release process actually checks it.
Run flows whenever a pull request changes
After the initial branch workflow works, extend the integration to pull-request builds. This variant catches regressions before merge instead of waiting for a release candidate.
- Configure the Xcode Cloud workflow’s start conditions for the pull-request scope your team intends to test.
- Submit flows from the same revision as the app build. Do not combine a pull-request binary with flows from the default branch by accident.
- Isolate accounts and records between runs. Concurrent tests must not reset each other’s sessions or delete shared fixtures.
- Keep untrusted contribution workflows separate from credential-bearing execution. Do not expose upload credentials merely because a contribution triggers a build.
- Use the smoke suite for the required check. Add broader regression coverage only after you can diagnose failures reliably.
Expected result: each qualifying pull-request build receives a result for its own app and flow revision.
Use the same execution contract for release builds. Change the trigger and test scope, not the meaning of a passing result. This keeps your 2026 branch and release policies consistent.
Troubleshooting
The app builds but will not install
Check the artifact’s target platform and the destination runtime. A device build does not become simulator-compatible because you upload it to a simulator service. Produce the appropriate artifact and validate installation before investigating YAML selectors.
The hook cannot find the artifact
Confirm which Xcode action invoked the script and whether that action produced the expected output. Log safe directory and action metadata, then validate the artifact explicitly. Do not select an arbitrary app bundle just because its filename matches.
Xcode Cloud is green while the flow failed
The integration is treating submission as completion, suppressing an exit status, or omitting the external result from release policy. Trace the failed run identifier through the waiting stage and final release check. Repeat the deliberate-failure test after fixing it.
The flow passes locally but fails remotely
Compare runtime, app configuration, locale, permissions, backend access, and account state. Inspect the first failing interaction before adding retries. A remote runner cannot reach a developer-only backend merely because the same flow works on a laptop.
Several builds interfere with each other
Check shared accounts, cleanup operations, and reused fixture identifiers. Assign isolated test data to concurrent executions or serialize the affected workflow. Keep cleanup scoped to the run that created the data.
Customize your workflow
Expand only after the smoke check blocks a deliberately broken build. Add session expiry, permissions, and checkout paths as separate flows with explicit starting states and useful failure assertions.
Maestro Deck Cloud is optional for teams that want hosted execution from CI. Keep local authoring independent of cloud signup, and confirm the current artifact and submission requirements before connecting a provider-specific adapter.
Choose your execution setup
Keep local flow authoring separate from optional cloud execution.
FAQ
How do I connect Maestro testing to Xcode Cloud?
Connect a compatible Xcode Cloud app artifact to an external Maestro execution stage, then evaluate its completed result. Keep the app revision, flow revision, and external run identifier together.
Can I install the desktop runner and assume Xcode Cloud will execute my flows?
No. A desktop authoring setup is not an unattended CI execution integration. Configure an execution environment, artifact handoff, authentication, and result handling explicitly.
Do I need a cloud account to use Maestro Deck locally?
No. Maestro Deck provides a free local desktop runner and inspector without requiring a cloud account. Hosted execution is optional.
Can I use an iOS archive for simulator testing?
A device archive is not a simulator build. Produce an app artifact compatible with the selected simulator environment and confirm installation before running flows.
Does a successful upload mean my Maestro test passed?
No. Upload acceptance only confirms that the submission was accepted. Wait for a completed passing result before satisfying a required release check.
Should I run every flow on every pull request?
Start with a required smoke suite, then expand coverage as failure diagnosis and test-data isolation become reliable. Keep broader regression runs separate when their scope does not belong on every change.
Does cloud execution mean tests run on physical iPhones?
No. Cloud execution can use simulators or other supported environments. Confirm physical-device support explicitly rather than inferring it from hosted execution.
One last thing
Test the failure path before trusting the passing path. In your 2026 setup review, break an assertion, invalidate the artifact handoff, and interrupt result retrieval separately. Each exercise should produce a visible, correctly classified outcome and prevent release when the check is required.
A green build only becomes useful evidence when you know which failure it would have caught.